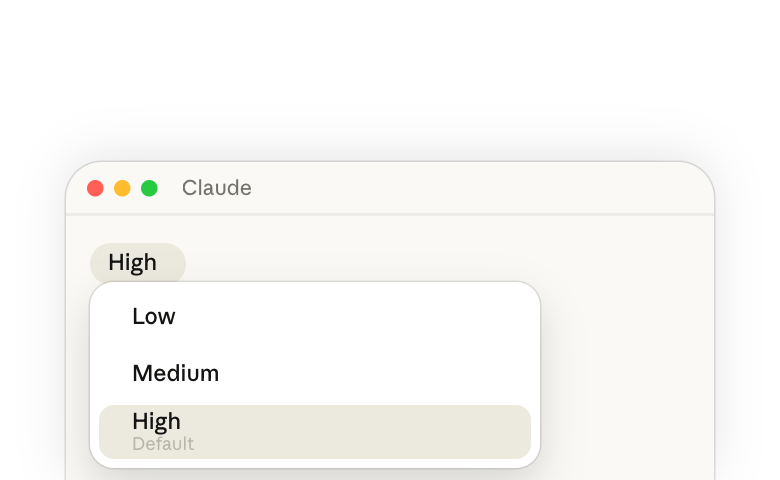
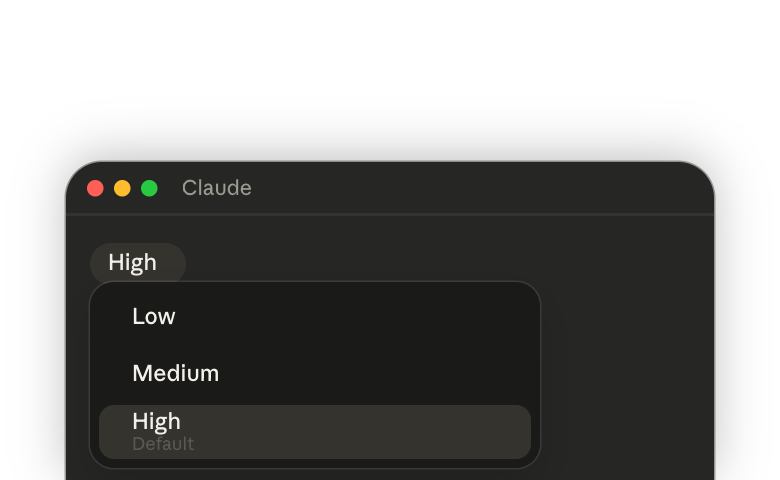
1. What does Claude's effort setting control
As Claude models become more agentic, they tend to complete more of the task before coming back to you. Effort(opens in new tab) is a setting that controls how thoroughly Claude works through a task on its own before returning an answer to you. Claude still sizes its work to the problem you give it; effort just shifts that baseline up or down.
When you raise effort, Claude thinks longer, makes more tool calls, and checks more of its work before answering. It might try an approach, check over its own output, and redo what didn't work, all before you see the first reply. When you lower effort, Claude takes a quicker, more direct pass and comes back sooner.
You can think of effort as a behavioral signal for Claude. Lower effort directs Claude toward doing less, like briefer thinking and fewer checks. Higher effort gives it more room to try and verify its work.
2. How effort affects your usage limit
All of this work (the thinking, the tool use, the checking and revision) affects how fast you see an answer and how much of your usage limit gets used per task.
On claude.ai(opens in new tab), in Chat and Cowork, your usage limit is measured in tokens, which are small units of text Claude processes. Everything Claude does (reading your prompt, processing files, thinking, writing responses) is measured that way and draws from your usage limit. Lower effort means Claude uses fewer tokens which results in less of your limit spent per task. Raising Claude's effort does the opposite. This is why matching effort to the task matters.
3. Why adjust effort vs. switch models
You have two levers for balancing what a task costs. Changing the selected Claude model changes both capability and cost. Switching from a model like Opus to Sonnet is cheaper per token, but less capable. Meanwhile, switching the effort setting changes cost while keeping the model's core capabilities intact: its advanced judgment, reasoning ability, and pattern recognition.
Lowering effort on a frontier model doesn't remove these capabilities. It removes the model's time spent doing things like planning and exploring options more thoroughly or re-reading and verifying its work.
This is the practical difference: If you're thinking about switching to an older or smaller model to avoid hitting your limits, try lowering effort on the newer model instead. A frontier model at medium or low effort often outperforms an older model at high or maximum effort.
4. Cost per task vs. cost per token
Most people assume that a cheaper model per token means cheaper overall. In practice, the unit that matters more is the cost per task completed, which can diverge significantly from cost per token.
A frontier model solving a difficult problem efficiently often costs less per task than a smaller model struggling through it, even when the frontier model costs more per token. Frontier models have better judgment, which means they are better able to spend tokens on what matters. They can figure out problems faster and are more likely to solve them in one careful pass without needing as many follow up prompts and re-direction.
For example: Say you're analyzing why customers churned last quarter. A smaller model at high effort finds patterns in the data but doesn't catch that your pricing changed mid-quarter, which skews the analysis. You have to follow up and clarify. A frontier model at medium effort recognizes the pricing context automatically and adjusts its analysis.
The frontier model finished in one pass. The smaller model needed extra clarification and revision. For the frontier model, fewer total rounds means lower cost per task, even though it costs more per token.
5. How to know what effort setting a task needs
Oftentimes, rather than switching to a cheaper model to stretch your limit, lowering effort on a frontier model outperforms an older model at maximum effort. The key is matching effort to what the task actually demands.
Claude comes set at a default effort, which is the recommended balance for everyday work. The default balances thoroughness against speed and usage, and it works well for most tasks. But no single balance fits all work, so the effort controls let you spend more on the tasks you decide are worth it, and less on the ones that aren't.
How to find your sweet spot: It can be useful to just try out different effort settings on the task you do regularly. Run it at default effort. Note how long it took, how complete the answer was, and how much you had to revise. Then, run it again at one level lower. Compare the results across three different task types.
Consider choosing effort by the shape of the task:
Once Claude responds, watch for signs that the effort setting does or doesn't match the task:
- Too little effort: Instructions get missed, or long work wraps up before it's finished. Turn the effort up, ask again, and watch whether the new answer follows your instructions.
- Too much effort: Responses become more verbose without improving the quality, or the scope expands past what you asked for. The model may reach a correct answer, continue verifying, and talk itself out of it. Turn the effort down and see if these problems are fixed.
- The right amount of effort: Your task is successfully completed in one or a few turns, without the need for many follow ups. Claude's response time feels proportional to your task.
Learn more
- Choosing the right effort level in Claude Code(opens in new tab): the same setting in Claude Code, with
/effort, the settings that control it, and a worked example. - Choosing a Claude model and effort level in Claude Code(opens in new tab): the concepts behind model choice and effort, from the Claude Code team.
- Claude models explained(opens in new tab): how the Claude models differ and how to choose one for your use case.